I touched on Open Energy Monitoring briefly when talking about my heat pump install and Home Assistant integration. It’s worth a deeper dive.
Open Energy Monitoring is an open source business, similar to Home Assistant in a lot of ways, but at a smaller scale. They supply hardware for monitoring renewable energy systems with a particular focus on heat pumps. They also manage and maintain a software platform for storing, visualizing and sharing monitoring data.
Current Installation
My heat pump installation includes a Level 3 Heat Pump Monitoring Bundle. It came pre-configured to send data to an account on Emoncms.org that my installer, Heat Geek, use to monitor performance. There’s a QR code on the side of the emonHP data logger that takes me to a web view of the data.
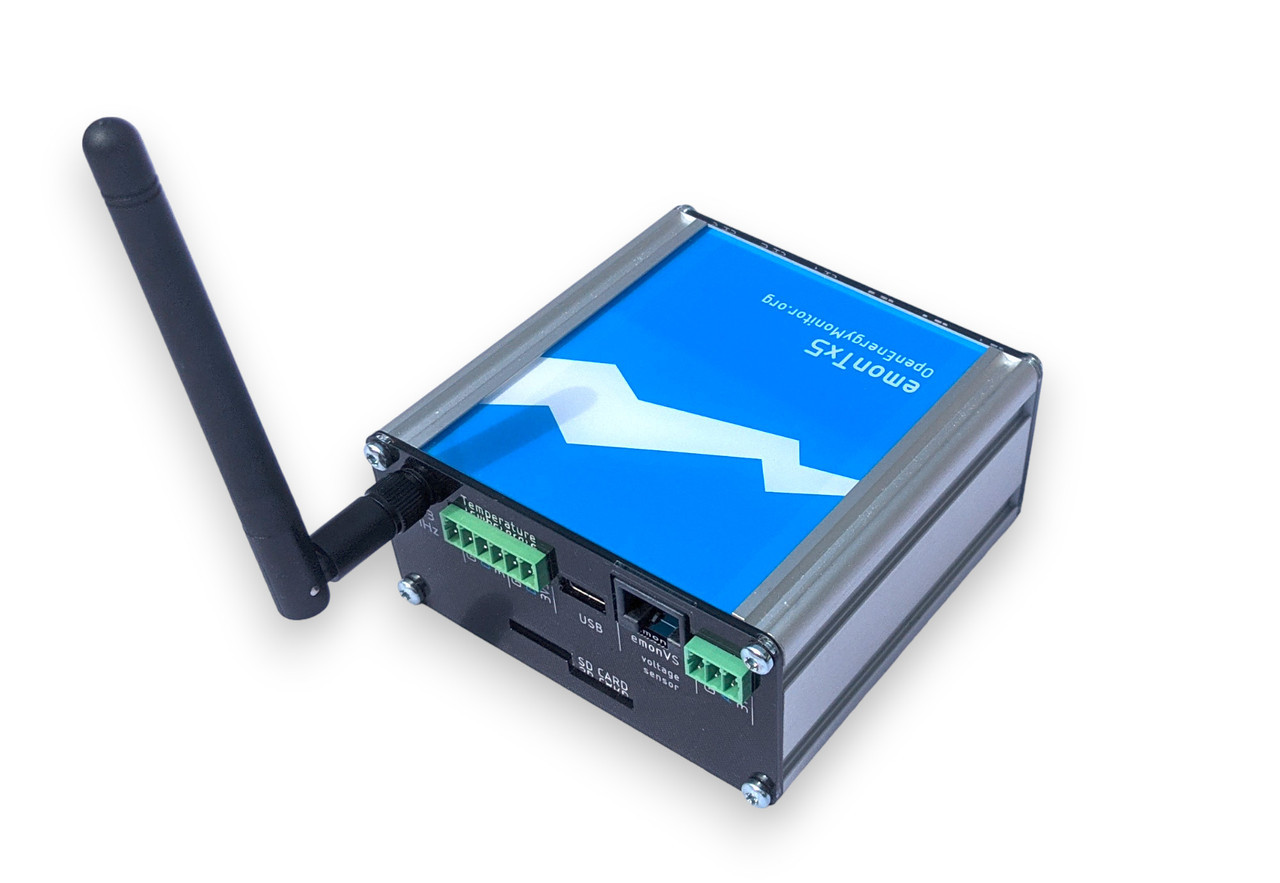
Like my Home Assistant instance, the emonHP is a small Raspberry Pi level computer in a rugged case. I wonder what else I can do with it?
The bundle includes three sensors. There’s an electricity meter, a heat meter and a DHW status sensor. The heat pump sends hot water either around a heating circuit or a DHW (domestic hot water) circuit. The status sensor keeps track of which circuit is active.

The heat meter and emonHP have separate power supplies. According to the electrician, these have to be behind a 5A fuse. They achieved this using an extension lead with a 5A fuse in the plug. Plugging in the extension lead left them a socket short so they improvised with an extension brick.
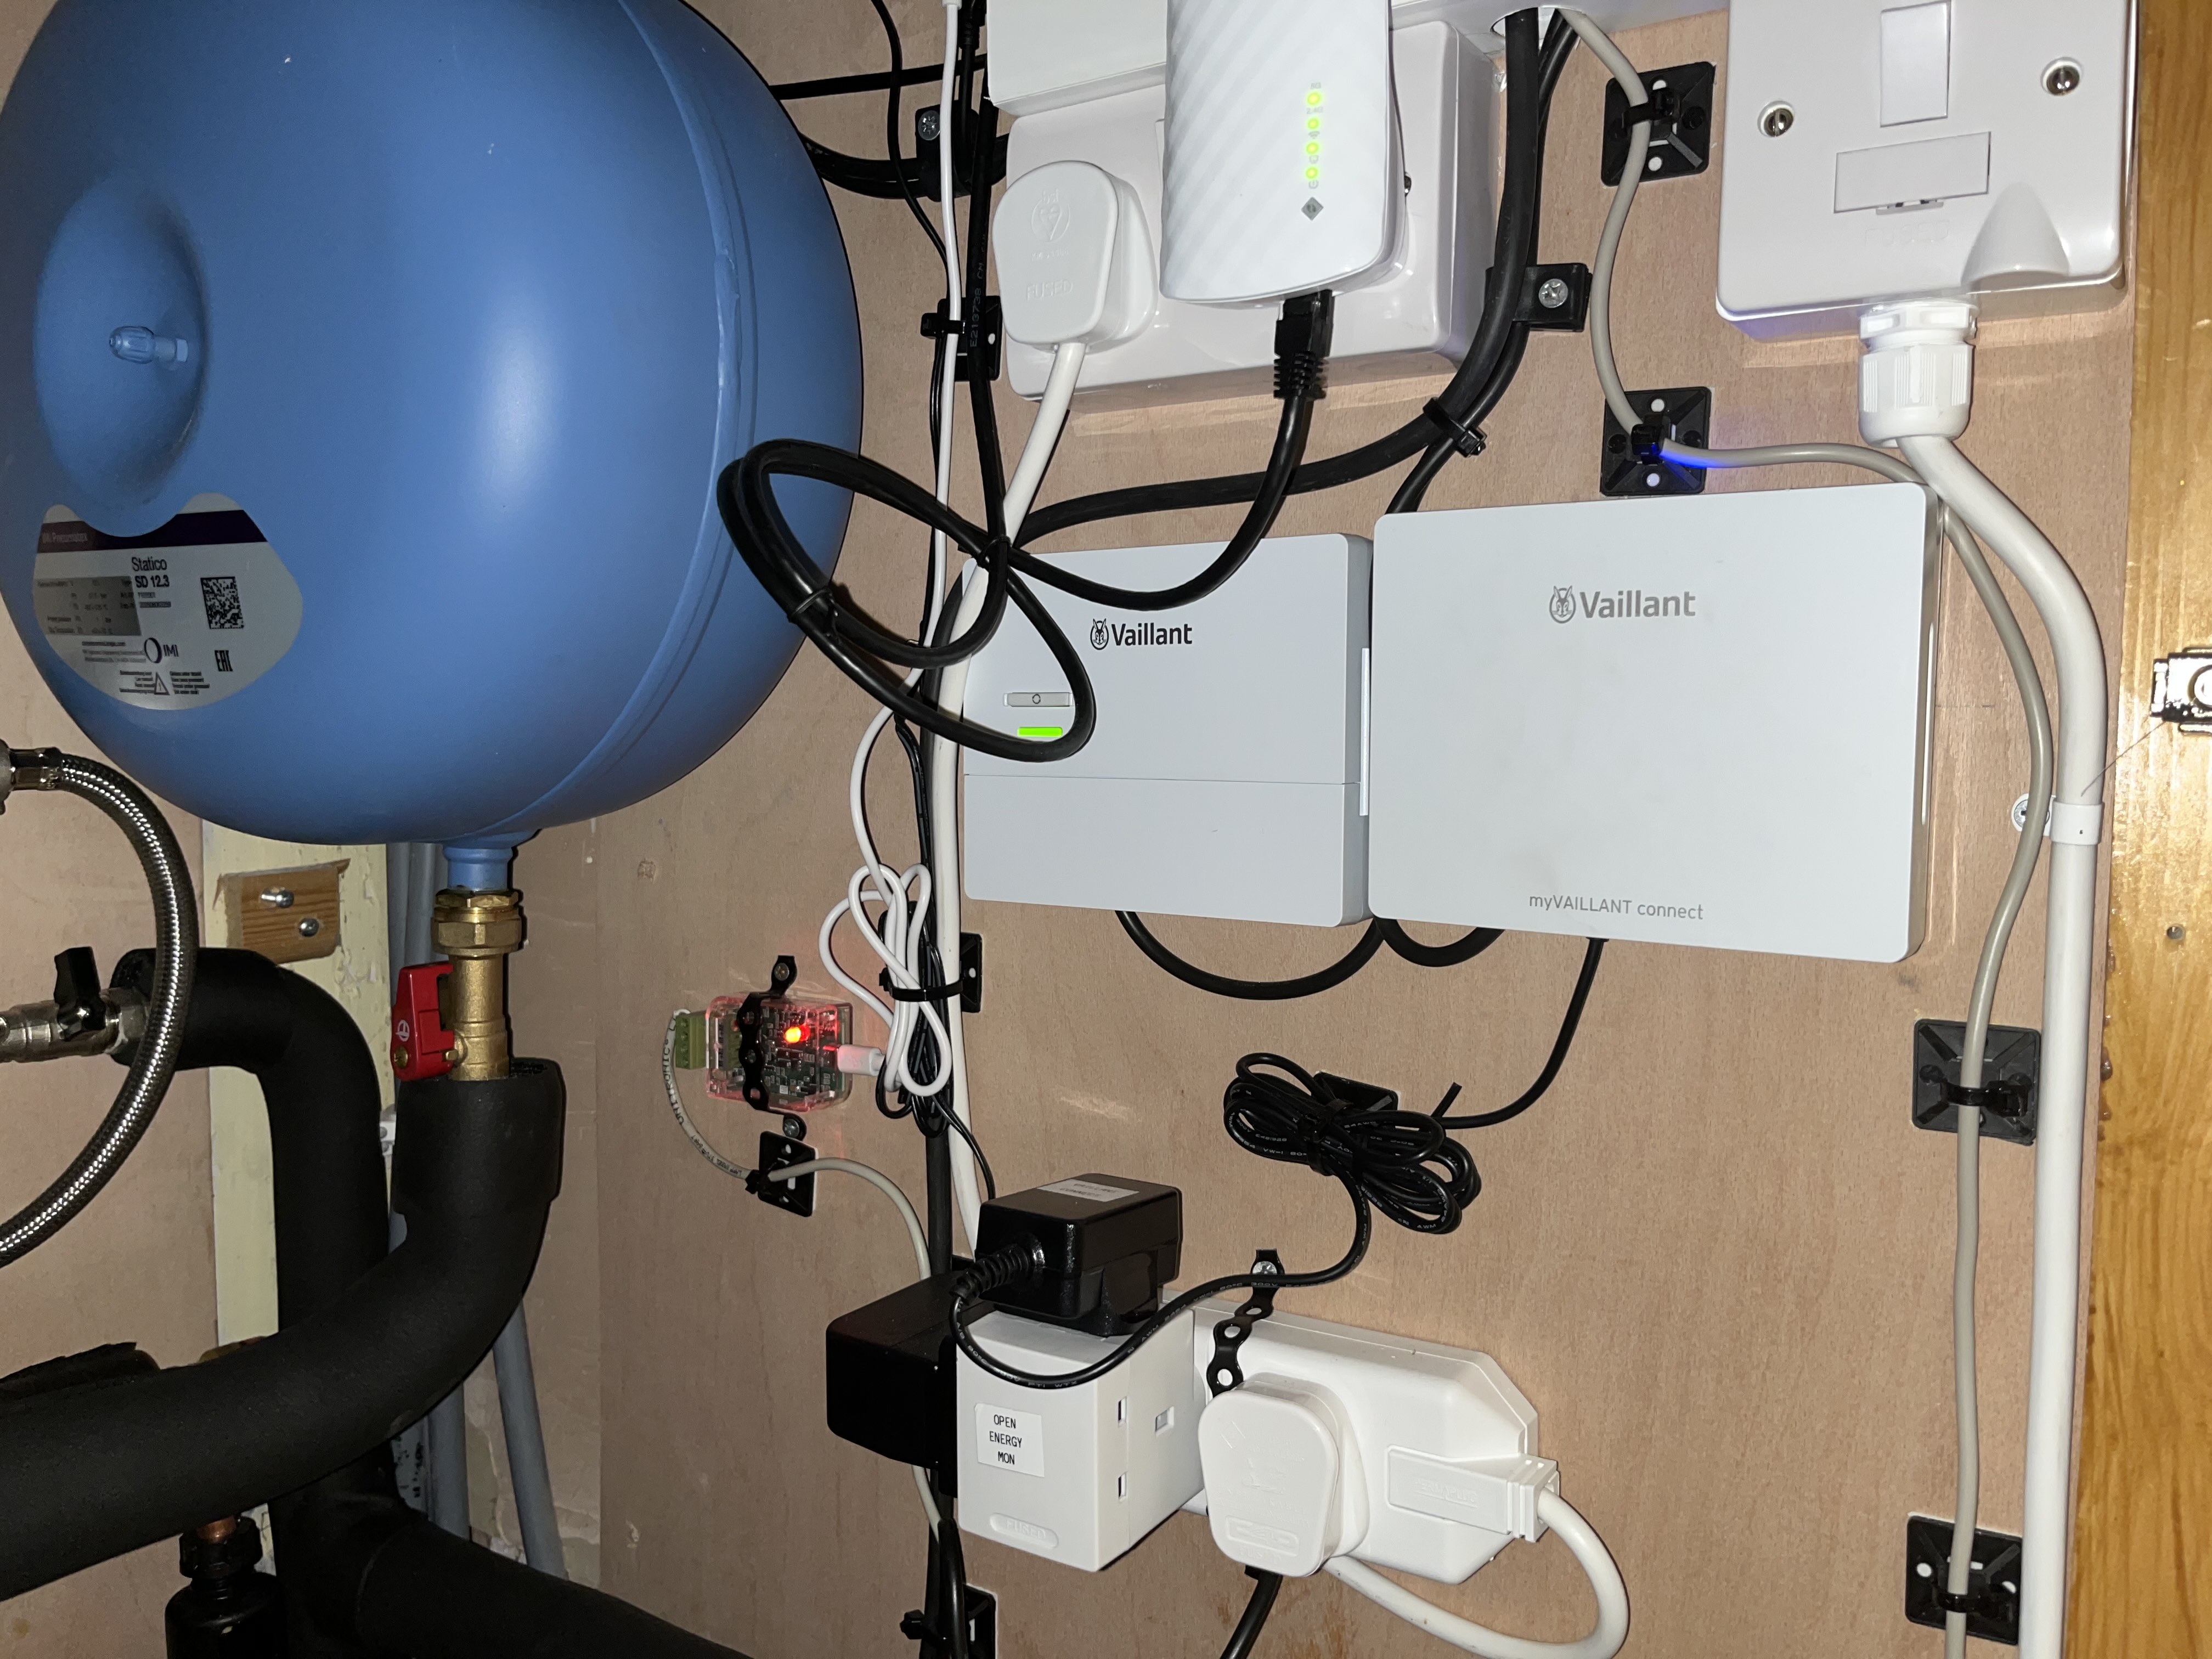
One of the sockets is being used by a WiFi extender with an ethernet cable connected to the emonHP (out of shot at the top). Which is weird because I can see a WiFi antenna sticking out of the top of the emonHP. The emonHP installation instructions say that it supports both Ethernet and WiFi.
The electrician was under the impression that WiFi wasn’t supported. Maybe previous generations were ethernet only? Or maybe using a WiFi extender means you can just plug it in without having to figure out how to configure it?
WiFi Setup
There’s a small LCD display on the front of the emonHP with a button next to it. Pressing the button turns the display on and cycles through different screens. Each screen displays information or allows you to perform an action like shutdown, toggle Wireless AP, toggle SSH access.
The Ethernet screen shows that Ethernet is connected and provides the IP address. The WiFi access point and WiFi Network are both disabled. The access point is used for setup if you don’t have a wired ethernet connection. I pointed a browser at the ethernet IP address which brought up a web interface.
The first time you connect you’ll start with a network configuration page. I continued to “Emoncms login” and used the username and password in the installation instructions.
The emonHP is actually running a local copy of Emoncms, the same system that I use to view the data logged to Emoncms.org. This is the full interface rather than the read only web view.
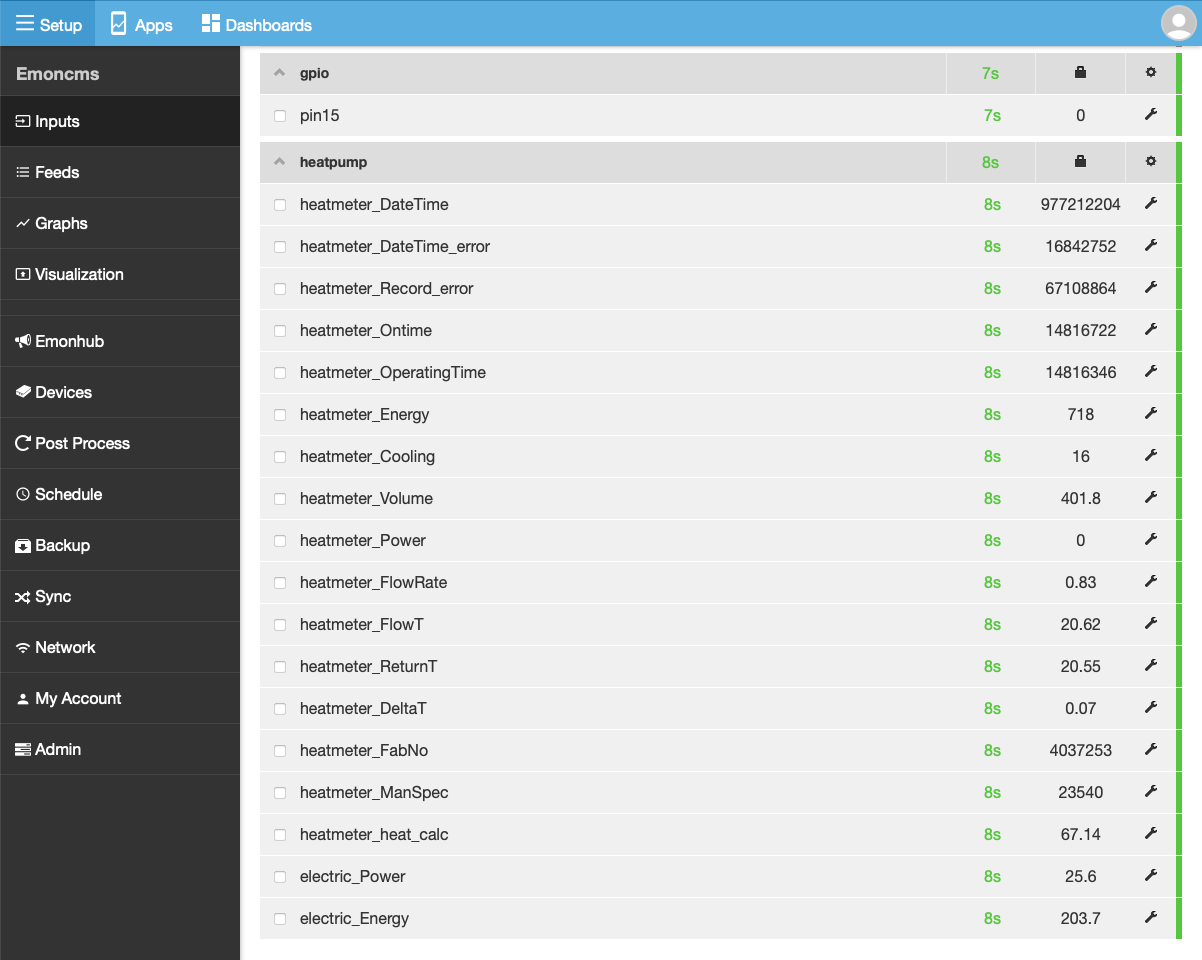
You can see the raw inputs coming from the heat meter, electricity meter and DHW sensor (apparently connected to gpio pin 15).
The Emonhub tab lets you edit local configuration, including the integration with the heat and electricity meters, as well as syncing of data to Emoncms.org. There’s a Sync tab which appears to be a separate system for more fine grained sync of data to remote systems. It’s not being used for anything.
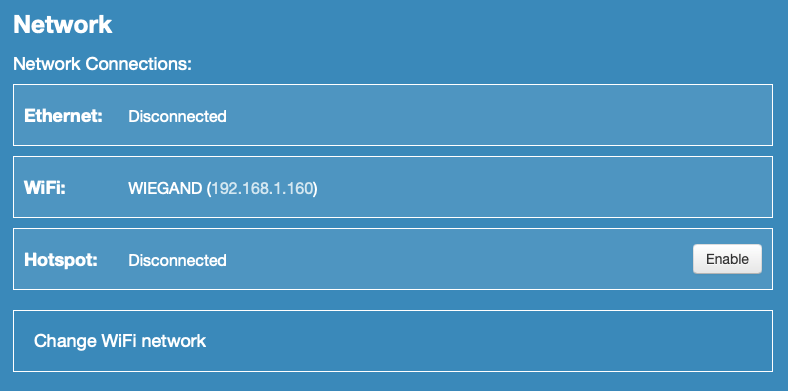
There’s lots more admin stuff including a Network tab. Let’s try turning the Wifi on. Pick my home network, provide the password, success. I confirmed on the LCD screen that WiFi is now enabled and has its own IP address. Pointing a web browser at the WiFi IP address works too.
I unplugged the ethernet cable. The LCD screen confirms that it’s disconnected. Web admin via WiFi is still working. I also confirmed that data is still reaching Emoncms.org.
I shut down the emonHP, removed the WiFi extender, moved the Vaillant myConnect plug up to the socket, removed the extension brick and plugged the emonHP back in. It took about 5 seconds to boot up. Everything is still working.
That’s much tidier. And now I have an ethernet cable, WiFi extender and extension brick to add to my stash of things that will come in handy one day.
DHCP Reservation
The DHCP server on my router is responsible for handing out IP addresses to local devices. The DHCP protocol gives each device a time limited lease for the IP address which has to be regularly renewed. It’s possible that the IP address might change in future.
I added a DHCP reservation on the router to ensure that the emonHP always has the same IP address.
Local Logging
Input data is batched up on the emonHP and then synced every 30 seconds to Emoncms.org. Nothing is being stored locally. However, you can enable local logging, as well as sending to Emoncms.org. In principle I should be able to get data into Home Assistant without having to rely on a round trip via the internet.
I was a bit worried about how much space is available for local data storage. The manual says that the standard setup has 10GB of data storage which is “enough for 138 years with 6 feeds at 10s resolution”.
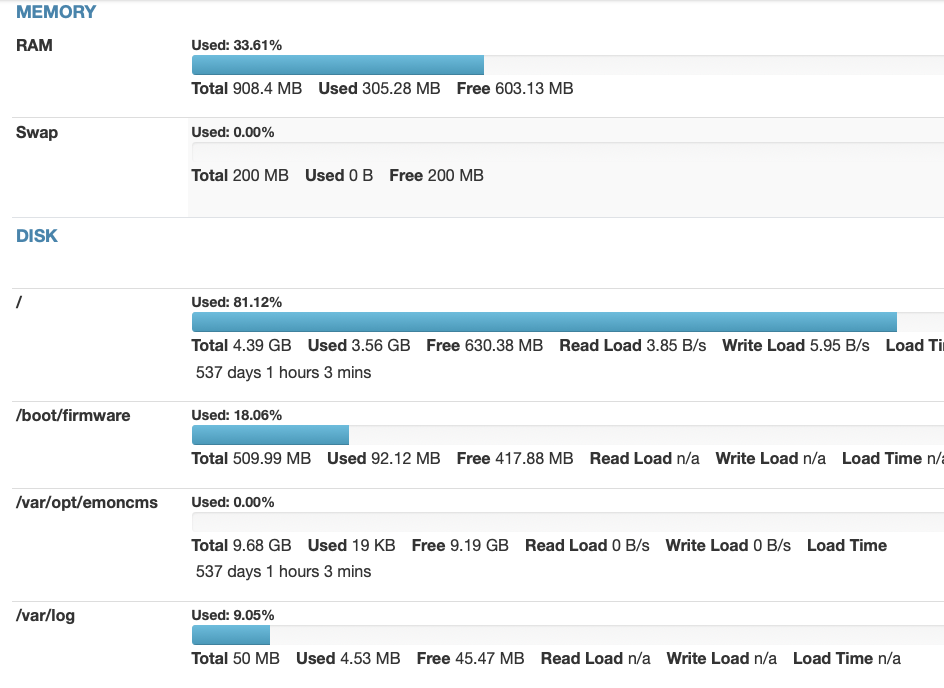
Mine appears to have the standard setup with 10GB free on the /var/opt/emoncms data partition.
You create local storage feeds from inputs using the spanner icons on the inputs page. A handy badge is added to each input when you create a feed.
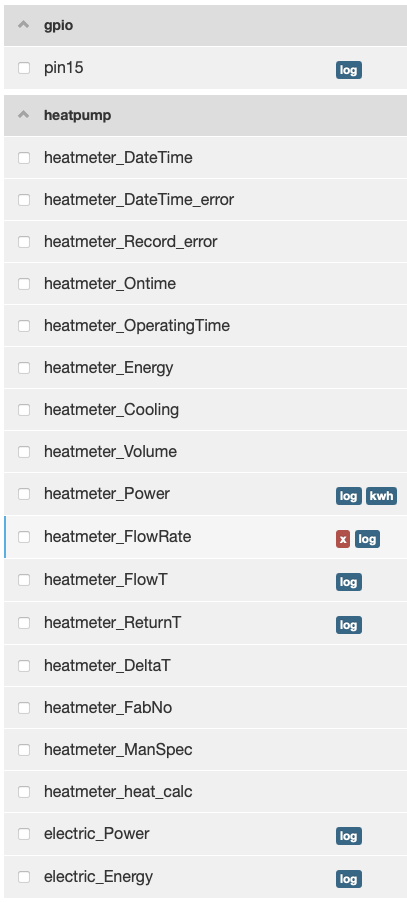
There are two badges on the Power input as I create two feeds from it. One directly and one by applying an input processor to transform the values. I already know that the heatmeter_Energy input is too coarse grained for my purposes. I currently use an integral helper in Home Assistant to calculate energy from power. I can now solve that problem at source, using the “Power to kWh” input processor to calculate energy over time from the power input. It should also be more accurate as the inputs in Emoncms are updated every 10 seconds rather than once a minute in Home Assistant.
The FlowRate input also has two badges. This time because I had to preprocess the input values before logging to a feed. The flow rate values reported by the heat meter are not in litres per minute. I found a forum post explaining that you need to multiply by 16 2/3 to get litres per minute. No idea why, but when I do it, I get the same values reported from emoncms.org.
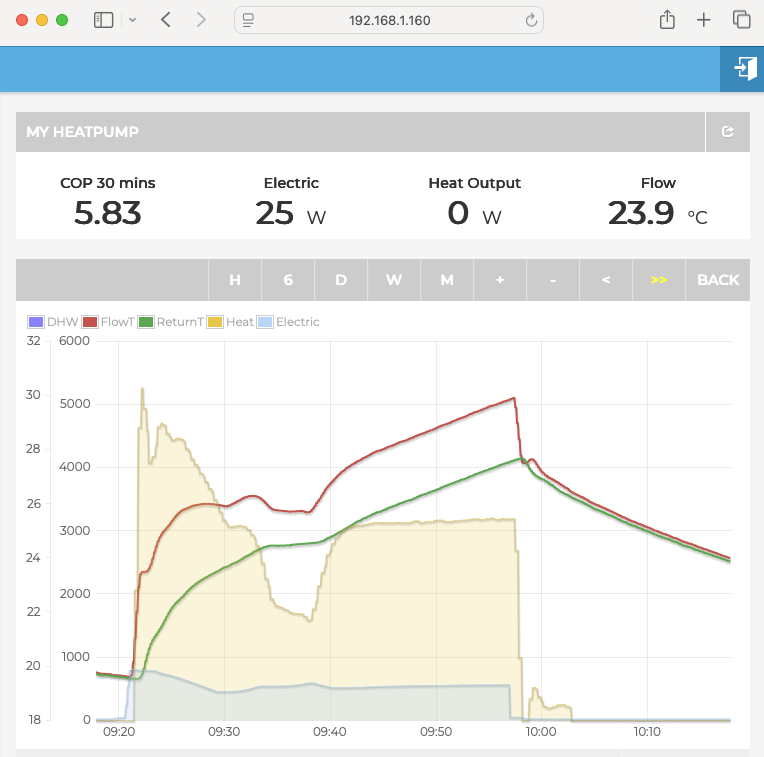
My Heat Pump
The web view that I currently use to visualize Open Energy Monitoring data is an instance of the “My Heat Pump” app. Apps are prebuilt visualizations. You create an instance of an app using the Apps tab. You configure the app by specifying the feeds it should use. A couple of minutes later and I have a locally running version of the Emoncms.org web view.
You can also build your own graphs, visualizations and dashboards.
Home Assistant Integration
The Emoncms integration I used to bring data in from Emoncms.org allows you to integrate with as many servers as you like. Use “Add Entry” to add another. I’m going to keep the existing entry for Emoncms.org until I’ve transitioned over and confident everything is working.
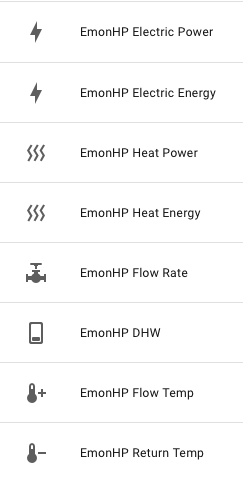
The URL for my local server is http://192.168.1.160, which creates entities with weird looking names, like “emoncms@192.168.1.160 flowrate”. I went through them all and gave them sensible names, icons and entity ids in the entity settings editor.
It was at this point that I realized only the “Heat Energy” sensor has units. This is the one I created using the power to energy input processor. I checked the emoncms integration source code. It uses a table that maps each type of feed unit to the corresponding Home Assistant sensor definition. It gets the unit types from a list of feeds retrieved from /feed/list.json.
[
  {"id":"1","userid":"1","name":"elec","tag":"heatpump","public":"","size":"30172","engine":"5","unit":"","value":25.8,"time":1762271000},
  {"id":"3","userid":"1","name":"elec_kwh","tag":"heatpump","public":"","size":"30040","engine":"5","unit":"","value":236.387,"time":1762271000},
  {"id":"4","userid":"1","name":"heat","tag":"heatpump","public":"","size":"30008","engine":"5","unit":"","value":0,"time":1762271000},
  {"id":"5","userid":"1","name":"heat_kwh","tag":"heatpump","public":"","size":"30008","engine":"5","unit":"kWh","value":22.748589999992,"time":1762271000},
  {"id":"8","userid":"1","name":"flowrate","tag":"heatpump","public":"","size":"29900","engine":"5","unit":"","value":0.834,"time":1762271000},
  {"id":"9","userid":"1","name":"flowT","tag":"heatpump","public":"","size":"29888","engine":"5","unit":"","value":21.35,"time":1762271000},
  {"id":"10","userid":"1","name":"returnT","tag":"heatpump","public":"","size":"29880","engine":"5","unit":"","value":21.29,"time":1762271000},
  {"id":"11","userid":"1","name":"dhw","tag":"gpio","public":"","size":"29844","engine":"5","unit":"","value":0,"time":1762271001}
]
Querying the emonHP myself confirms that only one feed has a unit property.
It turns out that once you’ve created feeds on the inputs tab you have to switch to the feeds tab and explicitly define units for them there. Once I’d done that, I tried to use the “Reconfigure” command to update the Home Assistant integration. However, it just marked all the sensors as “no longer provided”. I deleted them all, deleted the integration entry and tried again from the beginning. To my surprise, when the entities were recreated, Home Assistant reused the names, icons and entity ids I applied the first time round.
I gave it a day to get some real data aggregating. All looked good so I switched my dashboards, utility meters and template sensors to use local data.
Conclusion
One day of tinkering later, I’m in the same place that I started, except my data is accessible with 30 seconds less latency. I’ll also continue to have access to it if the internet goes down. However, I now also have the option of monitoring inputs in close to real time, updated every 10 seconds.
I wish more smart devices would provide local APIs. Instead, most of them depend on a remote server. If you’re lucky there’ll be a public API to retrieve your data. If not, you’ll have to rely on someone reverse engineering it. Then hope that they don’t change the API on a whim, or discontinue the service.